How to Insert Continues Section Break in Excel
Please Note: This article is written for users of the following Microsoft Word versions: 97, 2000, 2002, and 2003. If you are using a later version (Word 2007 or later), this tip may not work for you. For a version of this tip written specifically for later versions of Word, click here: Getting Rid of Section Breaks, but Not Section Formatting.
 Please Note: This article is written for users of the following Microsoft Word versions: 97, 2000, 2002, and 2003. If you are using a later version (Word 2007 or later), this tip may not work for you. For a version of this tip written specifically for later versions of Word, click here: Getting Rid of Section Breaks, but Not Section Formatting.
Getting Rid of Section Breaks, but Not Section Formatting
![]()
Written by Allen Wyatt (last updated June 2, 2022)
This tip applies to Word 97, 2000, 2002, and 2003
Word allows you to format your documents on three general levels: sections, paragraphs, and characters. Of the three, section formatting is often the most confusing formatting for people to understand. Other issues of WordTips detail how you can insert section breaks and apply section formatting.
If you have worked with sections before, you already know that if you delete a section break, the text before the break then adopts the section formatting characteristics of the section after the break. This may be what you want, but it can also be a pain if you want to delete the final section break in a document and you don't want the previous text to lose its section formatting.
Unfortunately, there is no intrinsic way to delete section breaks and maintain the formatting represented by that break. There is a workaround you can use, however:
- Place the insertion point at the end of the document, just after the final section break.
- If the section break just before the insertion point is a Continuous section break, press Ctrl+Enter to insert a page break.
- Choose Header and Footer from the View menu. Word displays the Header and Footer dialog box.
- Make sure the Same As Previous control is selected for both the header and footer. This ensures that the final section in the document has the same header and footer as the section just before it.
- Close the Header and Footer dialog box.
- Place the insertion point just before the final section break.
- Choose Page Setup from the File menu. Word displays the Page Setup dialog box. (See Figure 1.)
- Immediately press Enter or click on OK.
- Place the insertion point just after the final section break.
- Press F4. Word applies to the last section the Page Setup formatting that you accepted in step 8 for the next-to-last last section.
- If there are no differences in column formatting between the two final sections, you can skip to step 17.
- Place the insertion point just before the final section break.
- Choose Columns from the Format menu. Word displays the Columns dialog box. (See Figure 2.)
- Immediately press Enter or click on OK.
- Place the insertion point just after the final section break.
- Press F4. Word applies to the last section the column formatting that you accepted in step 14 for the next-to-las last section.
- Select and delete the final section break.
- Select and delete the page break you inserted in step 2.
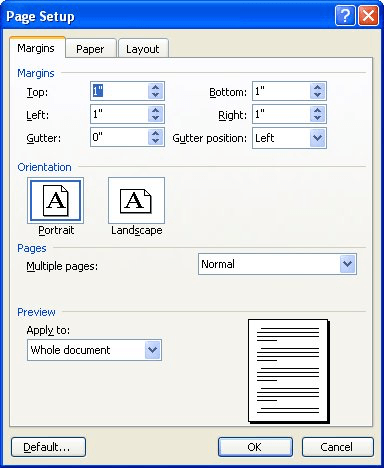
Figure 1. The Page Setup dialog box.
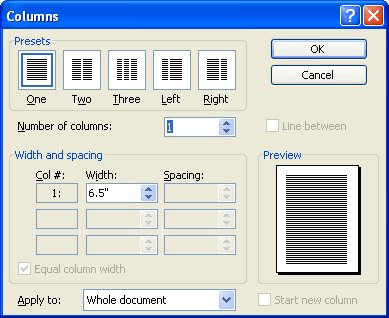
Figure 2. The Columns dialog box.
For more information on this and other issues relating to section breaks, visit this page at the Word MVP site:
http://wordmvp.com/faqs/formatting/WorkWithSections.htm
WordTips is your source for cost-effective Microsoft Word training. (Microsoft Word is the most popular word processing software in the world.) This tip (1477) applies to Microsoft Word 97, 2000, 2002, and 2003. You can find a version of this tip for the ribbon interface of Word (Word 2007 and later) here: Getting Rid of Section Breaks, but Not Section Formatting.
Source: https://word.tips.net/T001477_Getting_Rid_of_Section_Breaks_but_Not_Section_Formatting.html
0 Response to "How to Insert Continues Section Break in Excel"
Post a Comment